-
Shop
- Advanced Technologies
- AI Career Advantage Collection
- Apple Accessories
- Bathroom
- Best Sellers
- Black Friday Sale
- Car Accessories
- Digital Products
- Digital Resources
- Fashion
- Furniture
- Gadgets
- Gift Ideas
- Health & Beauty
- Home
- Home & Garden
- Home Decor
- Home Electronics
- Home Supplies
- Independence Day
- Kitchen
- Lighting
- Mother’s Day
- Patio, Lawn & Garden
- Pet Supplies
- Pets
- Samsung Accessories
- Special Deals
- Sport & Outdoors
- Super Deals
- Travel & Outdoors
- Watches
- New arrivals
- Featured
Hard Bristle Crevice Brush for Tracks, Seams & Tight Gaps
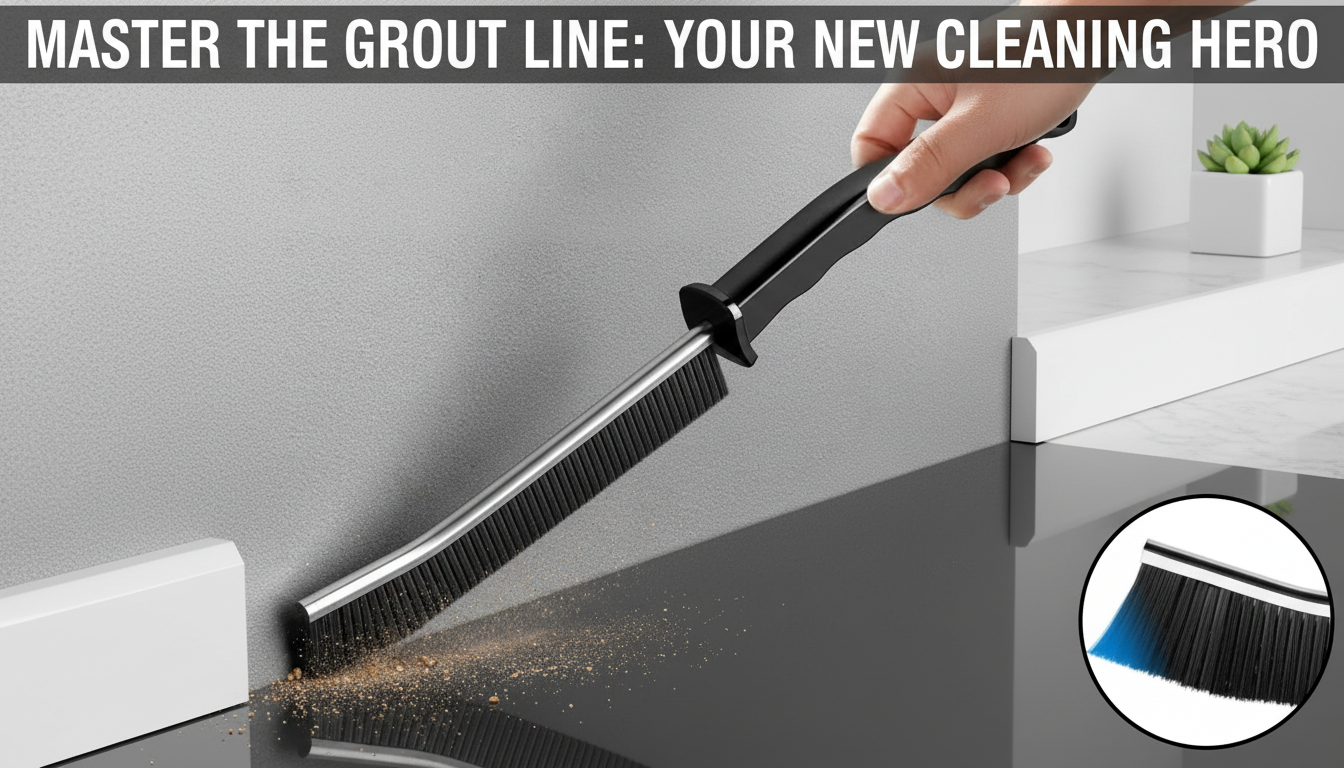
Hard Bristle Crevice Cleaning Brush: Deep-Clean Tight Gaps Without the Hassle
Tight seams and narrow channels collect grime that cloths and sponges can’t reach—window tracks, sink edges, stove seams, shower door rails, and baseboard grooves. A hard bristle crevice brush is built for those neglected areas, combining stiff bristles for scrubbing power with a narrow head that fits into crevices. Below you’ll find where it works best, how to use it safely on different materials, and how to keep it clean and long-lasting.
What a hard bristle crevice brush is built to do
A crevice brush is a detail tool: it’s meant to focus force into tight spaces where buildup gets compacted over time. That targeted design makes it a smart alternative to “borrowing” a toothbrush or poking around with random kitchen tools.
- Narrow head profile: Reaches gaps, seams, corners, and channels where buildup accumulates.
- Hard bristles: Break up dried-on residue like soap scum, grease, mineral deposits, and dust packed into tracks.
- Minimal product needed: Often effective with warm water plus a small amount of cleaner.
- Better outcomes with dwell time: Letting the cleaner sit (per label) softens grime so bristles can lift it faster.
- Helps prevent cross-contamination: A dedicated brush keeps bathroom grime out of kitchen tools and vice versa.
Where it shines around the home
Crevices show up everywhere—especially where moisture, airflow, and daily touch points combine. A hard bristle crevice brush is most useful when you need scrubbing power in a narrow channel.
- Kitchen: Sink rim and gasket lines, faucet bases, stovetop seams, range knobs and grooves, refrigerator door gaskets (use gentle pressure), microwave door edges.
- Bathroom: Shower door tracks, tile grout edges, around drains, toilet base seams, sliding door rails, behind faucet plates.
- Floors & trim: Baseboard grooves, thresholds, corners where dust compacts, sliding closet door tracks.
- Windows & doors: Window tracks, sill corners, weather-stripping edges (avoid aggressive scrubbing on delicate seals).
- Car & garage: Cup holders, seat rails, trunk seams, tool drawers, and hard-to-reach corners.
How to use it for faster, cleaner results
The goal is to loosen and lift grime out of the channel—then remove it—so it doesn’t settle right back in. A simple sequence keeps the mess contained and reduces repeat passes.
- Dry prep first: Vacuum or wipe loose dust from tracks and corners so grime doesn’t turn into muddy paste.
- Apply cleaner strategically: Spray onto the surface or directly onto the brush head to reduce overspray and drips.
- Let cleaners work: Follow label dwell time, especially for soap scum, greasy residue, or stuck-on debris.
- Scrub with controlled strokes: Use short back-and-forth passes inside the crevice, then pull debris outward where you can wipe it away.
- Rinse and wipe: Follow with a damp cloth to remove residue; finish with a dry cloth to slow re-soiling.
- For mineral deposits: Use an appropriate descaler and avoid “scraping” with brute force—let the chemistry soften buildup first.
If you’re disinfecting after cleaning, use a product labeled for that purpose and follow safety directions. The CDC’s guidance on cleaning and disinfecting provides a clear overview of when and how to disinfect: CDC: Cleaning and Disinfecting.
Choosing the right cleaner for the surface
Hard bristles already add strong mechanical action. Pairing them with the mildest cleaner that gets the job done helps protect finishes and reduces the risk of dulling or scratching.
For selecting disinfectants, stick with products registered for the intended use case. The EPA’s reference list is a reliable place to confirm registration: EPA: Selected EPA-Registered Disinfectants.
Quick guide: common crevices and the safest approach
| Area | Typical buildup | Cleaner to start with | Scrub pressure | Finish |
|---|---|---|---|---|
| Window tracks | Dust, pollen, compacted grime | Warm soapy water | Medium | Wipe, then dry to reduce re-soiling |
| Shower door tracks | Soap scum, mildew staining | Bathroom cleaner (label-safe) | Medium | Rinse well and dry |
| Sink rim/edges | Grease, food residue | Dish soap or degreaser | Medium | Rinse; wipe with clean cloth |
| Stovetop seams | Baked-on grease | Degreaser (label-safe) | Medium-high (avoid coatings) | Wipe until residue-free |
| Refrigerator gasket folds | Crumbs, sticky spills | Mild soap solution | Low | Wipe dry; avoid soaking gasket |
| Baseboard grooves | Dust, scuffs | Soapy water | Low-medium | Wipe dry; touch up if paint is delicate |
Care, cleaning, and storage of the brush
When to switch techniques (and when to replace the brush)
Product spotlight: tools that make detail cleaning easier
- Hard Bristle Crevice Cleaning Brush ($19.00) — Built for narrow seams and corners where typical scrubbers don’t fit, helping lift embedded grime during routine maintenance.
- Modern Abstract Face Storage Box ($68.00) — A handy way to organize small cleaning tools (like detail brushes and microfiber cloths) so they’re easy to grab when buildup starts.
FAQ
Can a hard bristle crevice brush scratch surfaces?
Yes—hard bristles can mark delicate finishes or glossy plastics if you scrub aggressively. Test a hidden spot first, use lighter pressure, and switch to a softer brush for fragile paint, coatings, or high-shine materials.
What’s the best way to clean and disinfect the brush after use?
Rinse away debris right after use, then wash with warm water and dish soap. If you need to disinfect it, follow the disinfectant label directions and rinse afterward if required, then air-dry completely before storing.
How do window and shower tracks get dirty so fast, and how often should they be brushed?
Tracks collect dust and debris, and moisture turns that buildup into compacted grime (plus soap residue in showers). Light brushing weekly or every other week helps prevent buildup, with deeper scrubbing monthly or as needed based on humidity and use.
Recommended for you

Genuine Leather Belts: Good, Bad, and What to Buy
Jul 21, 2026













Leave a comment